Labels

Showing posts with label Tutorial. Show all posts

1/03/2015

Moving Text

Post 4

In this tutorial I'm going to show you how to create a moving text with shadows and colors and cameras and cool things and the video will be on my YouTube channel; So keep on reading!!

1. Creating text

First of all you need to create the text that you want.
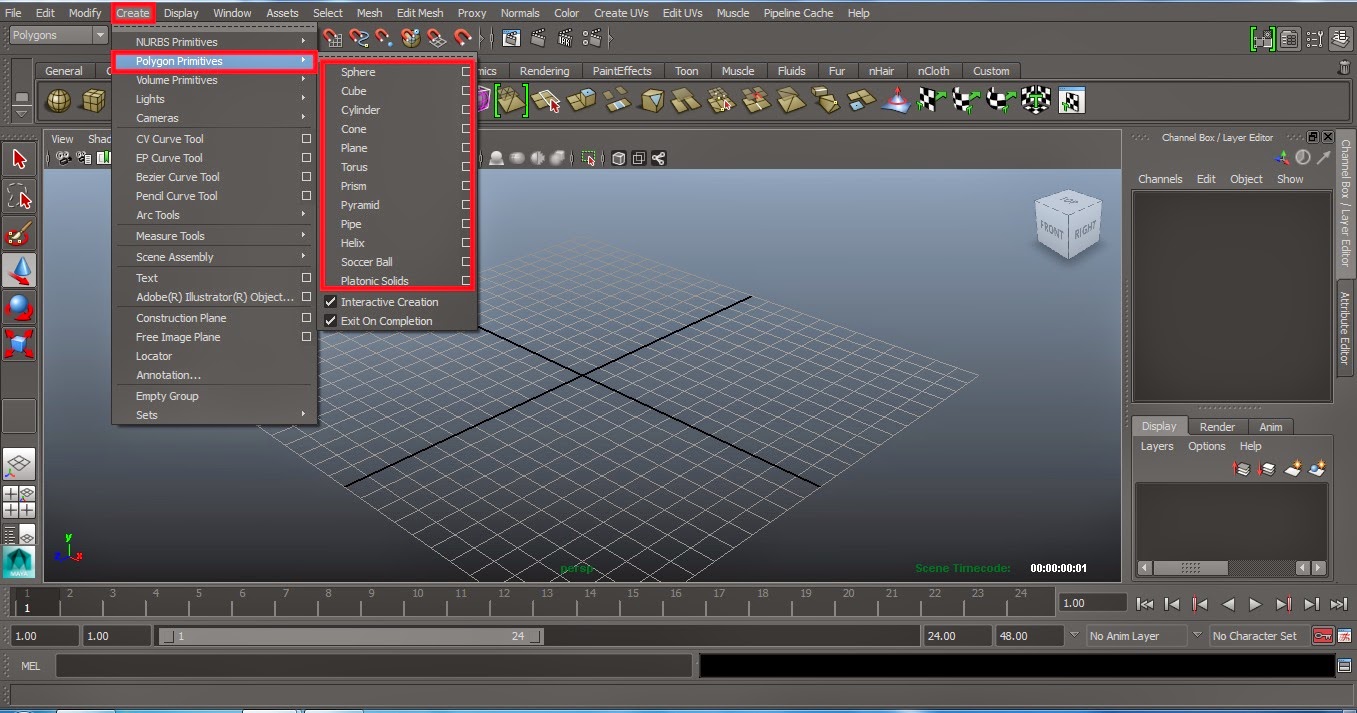
Go to create panel on the top and click on the text option box,

After that type the text that you want and change the font if you want then select bevel,


After that just freeze the transformations for ease of use and center the pivot in the modify panel.


The for recording the moves of the text, key it by pressing S on your keyboard and make sure that auto-key is on,
 In this case all of the translations and everything will be keyed, if you want one of the translations or etc. just right click on the part that you want and select key selected,

Now your text is ready!


12/07/2014

Layering

Post 3
Hello and welcome to the 3rd tutorial. Today I'm going to show you how to apply: Layers and changing rendering views and their uses.

1.  Layers

Layering is really important in Maya. When you are creating a short animation or animating a character, you have to know which part you're working with. So Layering is a good way to manage your animation.
For the best result, you can turn on Shaded display by tapping 6 on your keyboard, or hitting the icon:


Then select your polygons and just layer it:

2.  Changing rendering views

Rendering views have different qualities like LED and LCD TVs! Here's how to change the view:

Default rendering view is really useful for basic designs with no textures or significant effect. I've put some textures on my polygon to show you the difference between our views. You can see the texture and the colors on the cube is quite simple, pixel by pixel. (You can turn on textures by pressing 6 on your keyboard.)

High quality rendering view has better preference and better quality and it has shadows and etc...

Viewport 2.0 is the best quality renderer in Maya. As you can see the quality is good, and also shadows are good too.

So that's it for today. If you have any questions let me know and please put your comments down below.

Hope this tutorial helps.

Good luck!    

12/04/2014

Moving

Post 2

Welcome to the first tutorial. In this tutorial I'm going to show you: moving, scaling, rotating and selecting different parts of our models.

1.  Moving

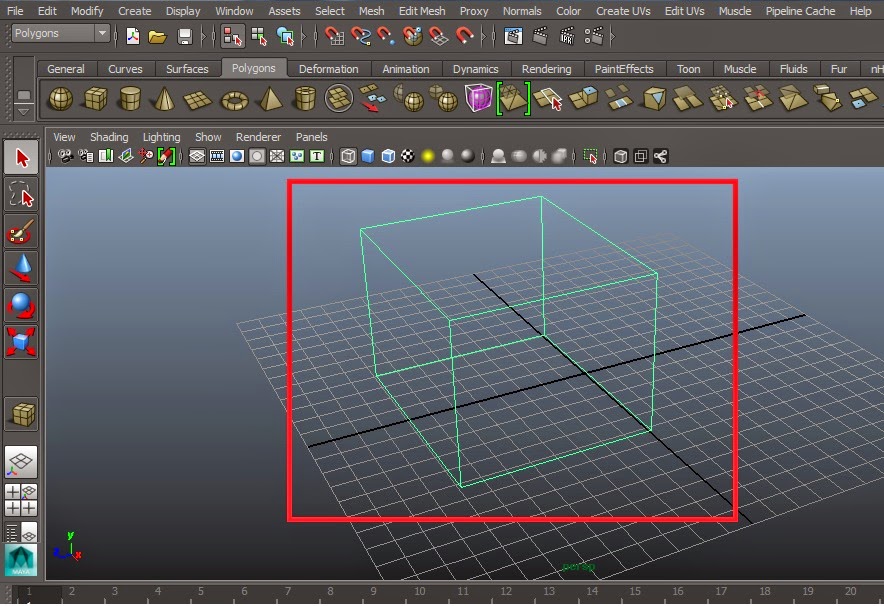
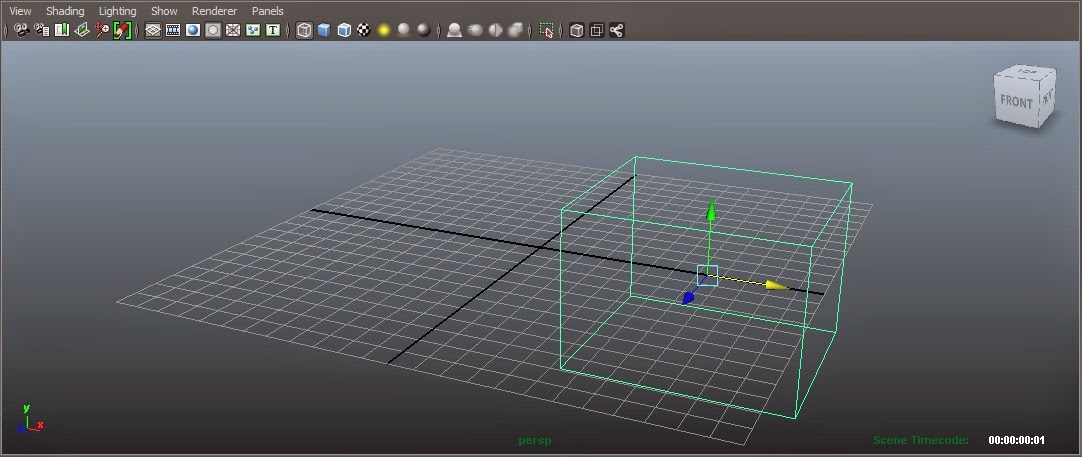
First create a polygon, as shown in the picture, 


1-1
Then select your polygon


2-1


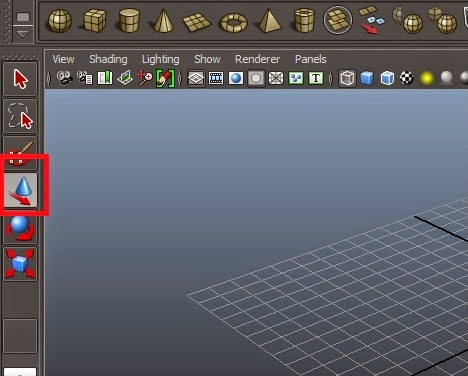
Then select moving icon
3-1
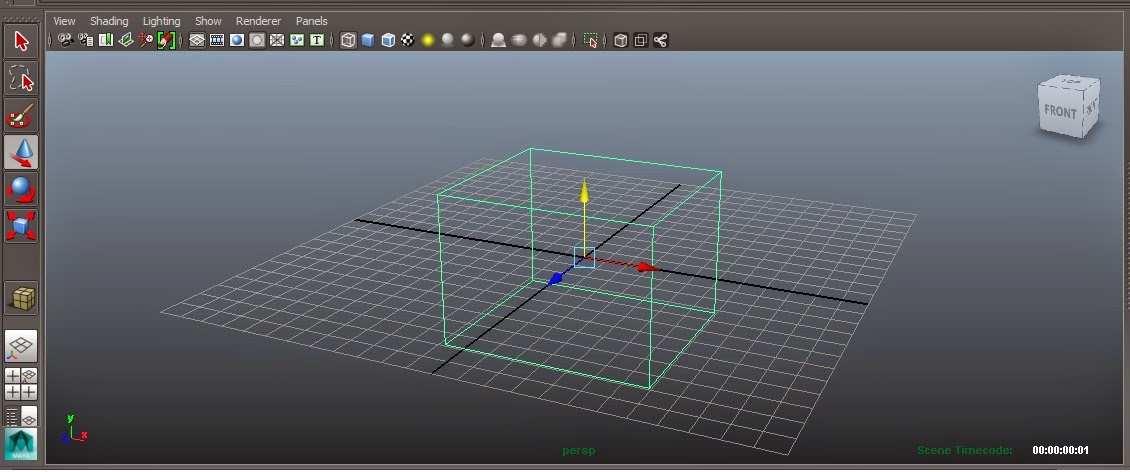
Then move your polygon
4-1

5-1

2.  Scaling

Select the scaling icon

Then select your polygon

Then scale your polygon


3.  Rotating

Select rotation icon 


Then select your polygon


Then rotate it


4.  Selecting

By holding right mouse button, on the polygon or other, you can select different parts; Like Vertex, Face or edge.


If you have any questions, just let me know.

Thanks for visiting my Blog.
Also visit my Youtube channel:
www.youtube.com/users/pouyakahfi 


Good luck